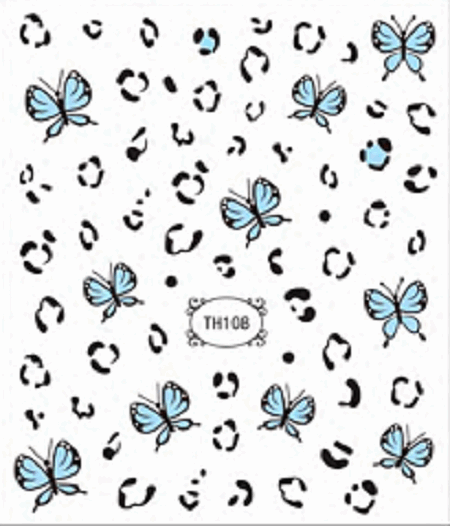
Butterfly Nail Stickers are a popular accessory for creating beautiful and intricate nail art designs. They offer a hassle-free way to enhance your nails with delicate butterflies, adding a touch of elegance and charm to your manicure. Butterfly Nail Stickers offer a simple and creative way to elevate your nail art game. By following this step-by-step guide, you can effortlessly apply butterfly Nail Stickers to achieve stunning and unique designs. In this article, we will provide a step-by-step guide on how to use butterfly nail stickers effectively, allowing you to achieve stunning nail art designs with ease.

Step 1: Prepare Your Nails
Start by preparing your nails for the application of the butterfly nail stickers. Remove any old nail polish and gently file and shape your nails to your desired length and style. Ensure that your nails are clean and dry before proceeding to the next step.
Step 2: Apply a Base Coat
Apply a thin layer of clear base coat to your nails. This helps to protect your natural nails and provides a smooth surface for the nail stickers to adhere to. Allow the base coat to dry completely before moving on to the next step.
Step 3: Select and Position the Butterfly Stickers
Carefully choose the butterfly nail stickers that you want to use for your design. Butterfly nail stickers usually come in various sizes and colors. Using a pair of tweezers or your fingers, gently peel off the desired butterfly sticker from its backing and position it on your nail. You can place the sticker at the tip of your nail, near the cuticle, or anywhere else on the nail, depending on your desired design. Press down firmly to ensure the sticker adheres to the nail.

Step 4: Smooth out the Sticker and Remove Excess
Once the butterfly sticker is in place, use a clean cuticle stick or a nail art brush to smooth out any wrinkles or air bubbles. Gently press the sticker onto the nail surface to ensure it lays flat and adheres smoothly. If there is any excess sticker extending beyond the nail, carefully trim it with small nail scissors or a nail file to achieve a clean edge.
Step 5: Seal with a Top Coat
To protect your nail art and prolong its longevity, apply a clear top coat over the entire nail surface, including the butterfly sticker. The top coat seals the design, helps prevent peeling or chipping, and adds a glossy finish to your manicure. Allow the top coat to dry completely.
Step 6: Repeat for Each Nail and Final Touches
Repeat steps 3 to 5 for each nail, applying the butterfly nail stickers in various positions and orientations to create a cohesive and visually appealing design. Once all the stickers are in place and sealed with a top coat, you can embellish further by adding small Rhinestones, glitter, or other nail art elements to enhance the overall look.
Butterfly nail stickers offer a simple and creative way to elevate your nail art game. By following this step-by-step guide, you can effortlessly apply butterfly nail stickers to achieve stunning and unique designs. Let your creativity soar and experiment with different colors, sizes, and placements to create your own personalized butterfly-inspired nail art. Remember to have fun, practice, and take your time to master the technique, and soon enough, you'll be showcasing beautiful butterfly nail designs that are sure to catch everyone's attention.
Copyright © 2025 Dongguan Blueprint Printing Company All rights reserved.