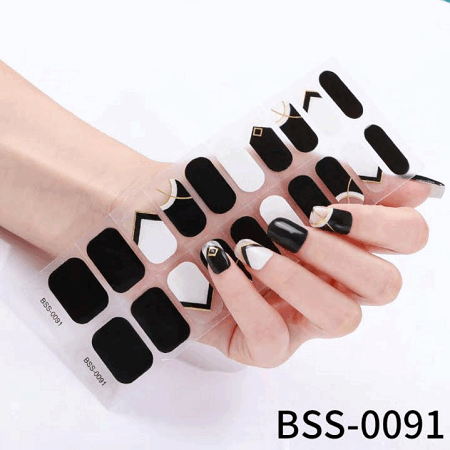
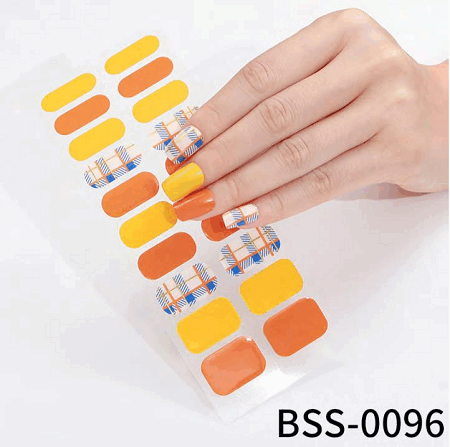
Gel nails have become incredibly popular due to their long-lasting and glossy finish. While traditional gel nail applications require UV or LED lamps for curing, semi-cured gel Nail Strips offer a convenient alternative for achieving salon-worthy nails at home. In this article, we will provide a step-by-step guide on how to use semi-cured gel nail strips, allowing you to effortlessly transform your nails with a professional finish.

Step 1: Preparation:
Begin by preparing your nails for the application process. Start by removing any existing nail polish and gently push back the cuticles. If desired, shape your nails using a nail file to achieve the desired length and shape. Buff the surface of your nails slightly to ensure better adhesion.
Step 2: Selecting the Right Size:
Semi-cured gel nail strips usually come in various sizes to fit different nail shapes and sizes. Carefully select the strip that best matches the width and length of each of your nails. It's better to choose a slightly smaller size rather than a larger one, as you can stretch the strip slightly for a better fit.
Step 3: Applying the Strips:
Peel off the protective film from the gel nail strip, exposing the adhesive side. Align the rounded edge of the strip with the cuticle line, ensuring that it is centered along the nail. Press down the strip starting from the cuticle area and smooth it towards the tip, eliminating any air bubbles or wrinkles as you go. Gently stretch the strip if needed to ensure a snug fit around the edges of your nails.

Step 4: Shaping and Trimming:
Once you have applied the gel nail strip to all of your nails, you may notice some excess material extending beyond the nail tips. Using a nail clipper or small scissors, carefully trim the excess strip, following the natural curve of your nails. Be cautious not to cut too close to the nail bed, as this may cause lifting or peeling.
Step 5: Sealing and Curing:
To ensure long-lasting wear, it's essential to seal the gel nail strips. Apply light pressure to each nail to ensure the strip adheres well. Next, use a nail file or buffer to gently smooth the edges of the strip, removing any excess material. This step helps to blend the strip seamlessly with your natural nail. If desired, you can also apply a thin layer of clear topcoat to enhance the shine and durability of the gel nail strip.
Step 6: Finishing Touches:
Once the gel nail strips are applied and sealed, take a few moments to admire your transformed nails. You can now enjoy the glossy finish and the vibrant colors without worrying about smudges or lengthy drying times. If you wish to further personalize your nails, consider adding nail art, decals, or other embellishments to showcase your unique style.
Semi-cured gel nail strips offer a convenient and user-friendly method for achieving stunning gel manicures at home. By following this step-by-step guide, you can easily transform your nails with professional-looking results. Enjoy the long-lasting wear, vibrant colors, and glossy finish without the need for UV or LED lamps. Whether you're a nail enthusiast or a busy individual seeking a quick and effortless nail transformation, semi-cured gel nail strips are a fantastic option for achieving salon-quality nails in the comfort of your own home.
Previous: Any Nice Nail Art Accessories?
Copyright © 2025 Dongguan Blueprint Printing Company All rights reserved.