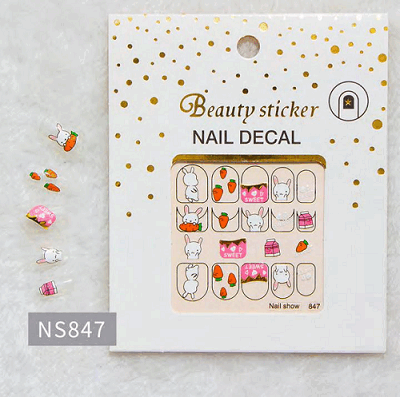
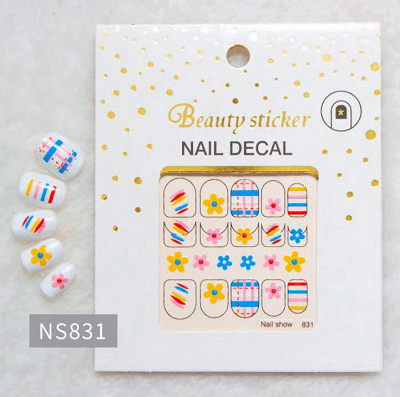
Nail Stickers are a wonderful way to add a touch of creativity and playfulness to your child's nails. They come in various designs, colors, and themes, making it an exciting activity for kids to express themselves. So, gather your supplies, let your child's imagination run wild, and watch their nails come to life with color and style! If you're wondering how to apply Nail Stickers for your little ones, this step-by-step guide will walk you through the process. Get ready to embark on a colorful journey!

Step 1: Gather the Supplies
Before you begin, gather all the necessary supplies to make the process smooth and convenient. Here's what you'll need:
Nail Stickers of your child's choice
Nail polish remover (non-acetone)
Cotton pads or balls
Small scissors (optional)
Clear top coat (optional)
Step 2: Preparing the Nails
Start by preparing your child's nails for the application of nail stickers. Follow these simple steps:
Remove any existing nail polish using a non-acetone nail polish remover and cotton pads.
If the nails are too long, you may consider trimming them using child-safe nail clippers or scissors. Ensure that the nails are an appropriate length for comfortable wear.
Step 3: Choosing the Nail Stickers
Involve your child in the decision-making process by allowing them to choose the nail stickers they like. They can select from a variety of themes, such as animals, flowers, superheroes, or their favorite cartoon characters. This step adds an element of excitement and personalization to the activity.

Step 4: Applying the Nail Stickers
Now comes the fun part! Follow these steps to apply the nail stickers:
Select the first nail sticker and carefully peel it off from the sheet using clean hands or tweezers. Ensure that you peel off the sticker gently to avoid tearing or damaging it.
Align the sticker with your child's nail, starting from the base near the cuticle.
Smoothly press the sticker onto the nail, starting from the center and working your way toward the edges. Ensure there are no air bubbles or wrinkles.
If necessary, you can trim the excess sticker using small scissors for a perfect fit.
Repeat the process for each nail until your child's hands are adorned with beautiful nail stickers.
Step 5: Finishing Touches
To maximize the longevity of the nail stickers and add an extra layer of protection, you can apply a clear top coat. Follow these steps:
Allow the nail stickers to dry completely before applying the top coat.
Apply a thin layer of clear top coat polish over each nail, ensuring full coverage.
Let the nails dry for a few minutes.
Previous: How to Get Flower Nail Stickers?
Copyright © 2025 Dongguan Blueprint Printing Company All rights reserved.